First Call
Overview
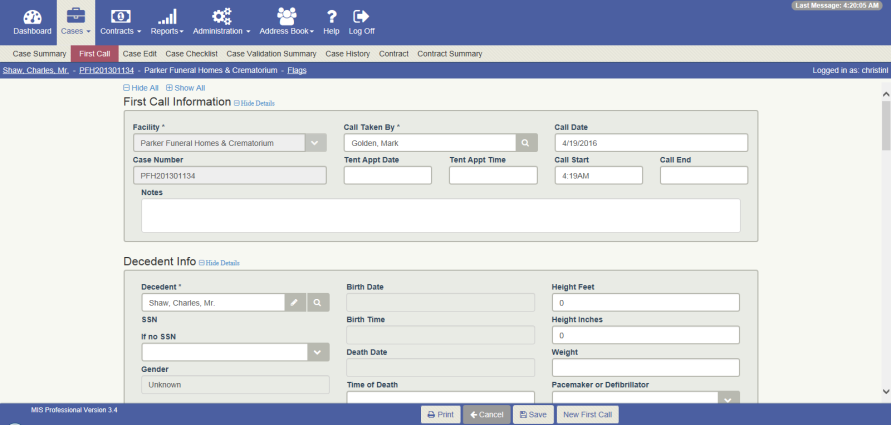
The First Call screen records information collected during the initial contact with a customer for an at-need case. The only required fields are the facility, first and last name of the decedent, and the name of the employee who took the call. This screen requires only this minimal information to save because oftentimes limited information is known at “first call”. You can return later to this screen to capture additional information as it becomes known.
When save is clicked for the first time a case number is automatically assigned to the case. Once the case number is assigned it cannot be changed.
Much of the information collected on this screen populates other screens related to the case, so it is important to record information accurately. For example, any name field having a person icon next to it will populate the name on the Case Person screen. In addition, if the “Place of Death” field is checked for a “PickUp Facility”, this information is carried over to the “Death Location” section on the Death Certificate screen.
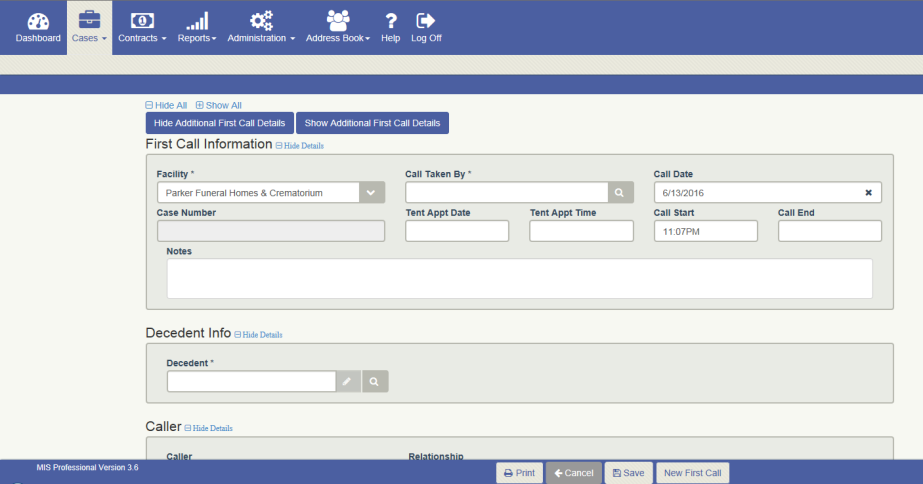
There is a "mini" First Call screen available for use as shown in the figure below. This "mini" screen has fewer fields visible than the "regular" First Call screen. Please contact Technical Support if you are interested in using this "mini" screen.
Other Notes:
- This screen is available for both At Need and Preneed cases. (See First Call for Preneed cases.)
- The Caller field can be configured to function as a name prompt or text field (See First Call Caller Field: Name Prompt or Text Field)
- Purchaser information can be added on the First Call screen. If a purchaser is not associated to the case, a message is displayed when you navigate to the New Contract or Contract Summary Screens, letting you know that Purchaser Information has not been defined yet. For more information see Verifying a Purchaser is Added to a Case.
Workflow
Adding a new case:
- Click the NEW FIRST CALL button on the footer. The screen will be cleared of all data.
- Complete the required fields.
- Complete any additional fields.
- Click the SAVE button on the footer.
You can also add a new case from the Dashboard screen:
- Click the New AN Case button on the Case Search widget. The First Call screen appears
- Complete the required fields.
- Complete any additional fields.
- Click the Save button on the footer.
The Caller field can be configured to function as a name prompt or text field (See First Call Caller Field: Configure as Prompt or Text Field)